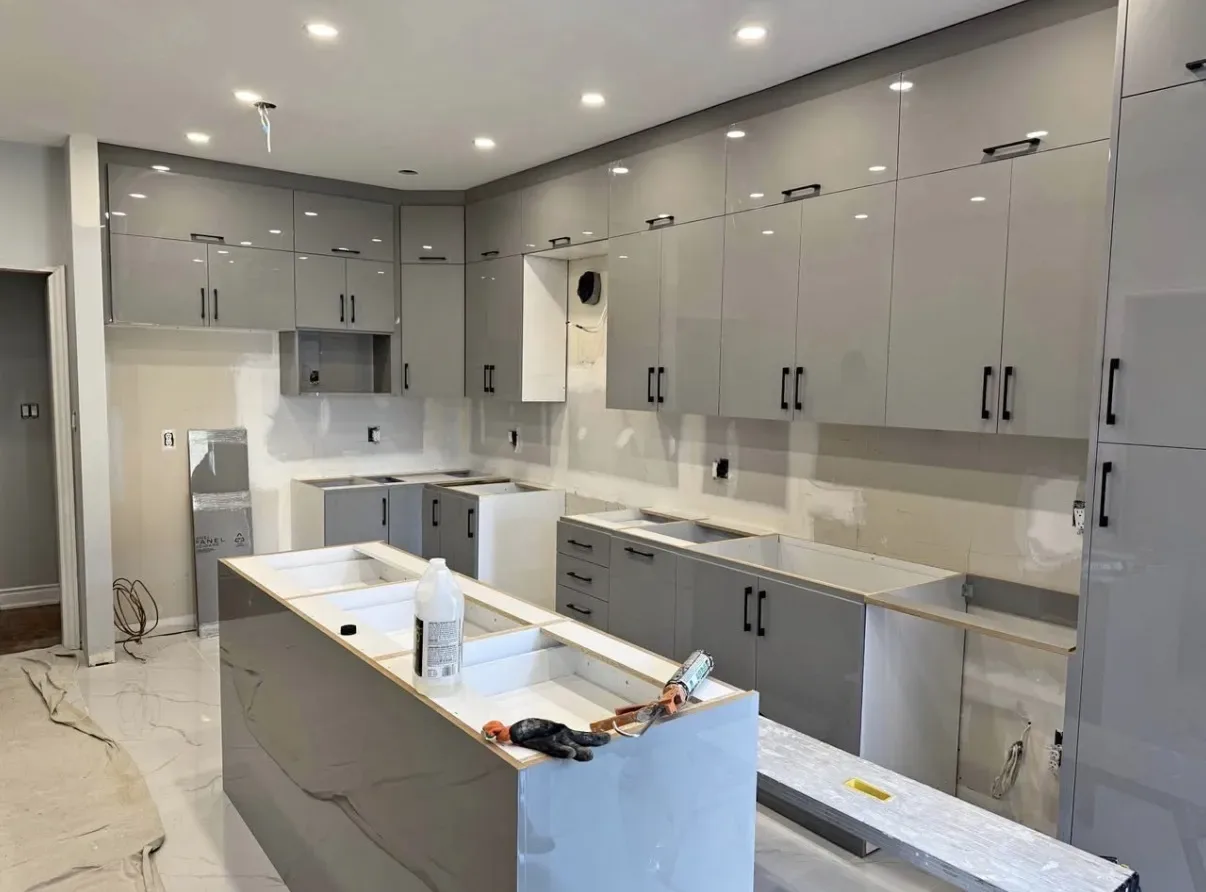
Interior finishing
"D&D boarded and finished our whole basement and the walls are dead flat. They asked for a Level 5 finish on the feature wall and you genuinely cannot see a single seam. Cleanest drywall crew we've ever had in the house."
What is drywall and plastering in Ayr?
Discuss drywall and plaster repairs in Ayr with the trim, floors and built-in features you want to retain clearly marked before the repair boundary is agreed. D&D Interior Services. Call (519) 501-5003.

Discuss drywall and plaster repairs in Ayr with the trim, floors and built-in features you want to retain clearly marked before the repair boundary is agreed.
A repaired wall has to meet the parts of the room that remain. The important decisions include whether casing stays in place, how a patch meets an older surface and which paint areas need to be renewed after the repair.
A stain, crack or damaged patch can have an underlying cause. Replacing the visible area will not resolve an active leak or continuing movement that needs separate attention.
Strong side lighting and smooth decorative finishes can make joints and surface irregularities more noticeable. The expected finish should be considered before the boarding and joint work are complete.
Corners, openings and existing textures affect how a repaired area blends in. Painting may extend beyond the patch to create a consistent appearance, and should be clear in the quote.
Board installation, joint finishing, skim coating and localized repairs are different drywall tasks. The intended paint finish and room lighting help define the finish level to discuss.
For an Ayr property with original woodwork or successive additions, photograph the retained details and the junction between older and newer surfaces. Identify which pieces should stay during repair. Include the entrance and stair route when the affected room is away from the main floor, along with any constraints on storing materials between visits.
Use the full drywall and plastering guide alongside Service areas and enquiries. Include painting after drywall repair when coordinating adjoining work.
In our clients’ words
Interior finishing
"D&D boarded and finished our whole basement and the walls are dead flat. They asked for a Level 5 finish on the feature wall and you genuinely cannot see a single seam. Cleanest drywall crew we've ever had in the house."
Interior finishing
"We had ugly popcorn ceilings throughout our 1980s home. D&D scraped them all, skim coated everything smooth, and the dust control was unreal — barely any mess. The ceilings look brand new and modern now."
Interior finishing
"A pipe leak left a big water stain and sagging drywall on our ceiling. D&D cut it out, replaced the board, and blended the repair so well you'd never know anything happened. Fast, tidy, and fairly priced."
Review recurring cracks, stains and loose material before agreeing the repair method. Record any separate assessment needed and the point at which revised scope requires approval.
Specify joint finishing and any priming, then review the wall under its normal lighting. Agree the painting handoff and the treatment of the trim edge so the final junction is not left between two scopes.
Photograph trim profiles, wood finish and the junctions around doors. A wider view helps show how the repaired surface will connect to the next room. Note which features must not be painted or removed.
List furniture that needs moving, protected floor routes and rooms that must remain usable. Agree where materials can be stored while compounds dry and who will arrange access for return visits.
Separate walls, ceilings, repairs and new installation.
Record visible damage and unresolved underlying concerns.
Clarify preparation and the surface expected before decorating.
Confirm access, nearby belongings and cleanup responsibilities.
For Ayr, ask for a quotation that identifies surface area, repair depth, protection of retained finishes and any trim handling. Small patches have setup and finishing stages that do not scale like new boarding. Confirm primer, painting and disposal separately rather than applying a general square-foot price.
Retaining a sound wall may be practical when damage is isolated. Widespread poor attachment, repeated damage or affected concealed material can change that choice. Assess the cause and surrounding surface first; there is no reliable one-third-of-a-wall replacement rule.
The schedule depends on access, investigation and the sequence of coats and drying. Retained trim can also affect how the edge is prepared. Ask when each visit occurs and when the room is ready for the agreed decorating stage, not just when the patch is installed.
Level 4 focuses on joints and fasteners; Level 5 adds a whole-surface treatment to reduce differences across the board face. Choose with the paint and lighting in mind. USG’s finishing guidance explains why strong light can still reveal surface variations.
Discuss the repair after the source of water and affected materials have been assessed. Provide records of any leak repair and identify retained woodwork beside the damage. Closing and decorating a patch does not establish that concealed areas are dry or free of mould.
Texture removal and smoothing can be assessed as a separate ceiling project. Establish the material history and any needed professional testing first. Health Canada’s asbestos guidance supports assessment before disturbing suspect finishes; specialist removal is not an automatic drywall inclusion.
Discuss room containment, floor protection, sanding methods and cleanup before work. Pay particular attention to retained timber and routes through occupied rooms. Agree who moves belongings and when the work zone can be used; dust reduction is not a promise of no dust.
Have any workmanship warranty written into the accepted proposal. Ask how long it applies, what finish concerns it covers and how pre-existing movement or moisture is treated. A general assurance cannot substitute for those project terms.
First establish whether the source of the stain has been addressed and what material needs assessment. Covering the mark is a finishing task; it does not establish that the ceiling or the cause of the water entry is resolved.
The blend depends on the existing texture, paint and lighting. Discuss the decorating area as well as the repair dimensions; repainting only the patch may leave a visible difference beside aged coatings.
Ask for a description of the expected surface, joint work and any priming included. The term should be connected to the planned decorative finish and room lighting rather than treated as a universal finish guarantee.
Describe the texture and known age or history for assessment before disturbance. The proposed method and any material investigation need to be established first; a photograph cannot confirm what an existing coating contains.
Joint treatment and related products have drying and recoat requirements. The room condition and extent of work affect the sequence, so confirm the actual stages rather than assuming every repair can be decorated immediately.
Identify planned openings and service changes before the ceiling or wall is finished. Coordinating those tasks can prevent a newly repaired surface from needing to be opened again for an unresolved fixture location.
Explain whether the room is occupied, which surfaces are affected and whether the damage has returned. Include planned lighting or plumbing work so the repair can be assessed alongside any openings that still need to be made.
Sometimes the repair can be defined above or beside retained trim, but the condition of the wall edge matters. Discuss removal only where needed, how pieces would be protected and whether refitting or replacement is included. Do not assume old pieces can always be removed intact.


For a service enquiry, use the contact link above. The date and time request only shares preferences; arrangements are confirmed separately.
Start with your property
A request is not a confirmed appointment or service agreement.
Share a preferred date and time. We will confirm arrangements with you; sending a request does not book an appointment.
Choose a preferred date and time. The team will confirm availability and the proposed arrangements.
Prefer to send the details first? Request a quote or call (519) 501-5003.