Interior finishing
"D&D repainted our whole main floor — walls, ceilings, and all the trim. The cut lines are razor sharp and there's not a drop of paint anywhere it shouldn't be. The house feels brand new."
Lisa & Mike G.
Read this testimonialWhat is interior painting in Woodstock?
Plan interior painting in Woodstock with retained cabinets, adjoining floors and room connections shown together, so preparation and final coats follow the agreed renovation sequence. D&D Interior Services. Call (519) 501-5003.
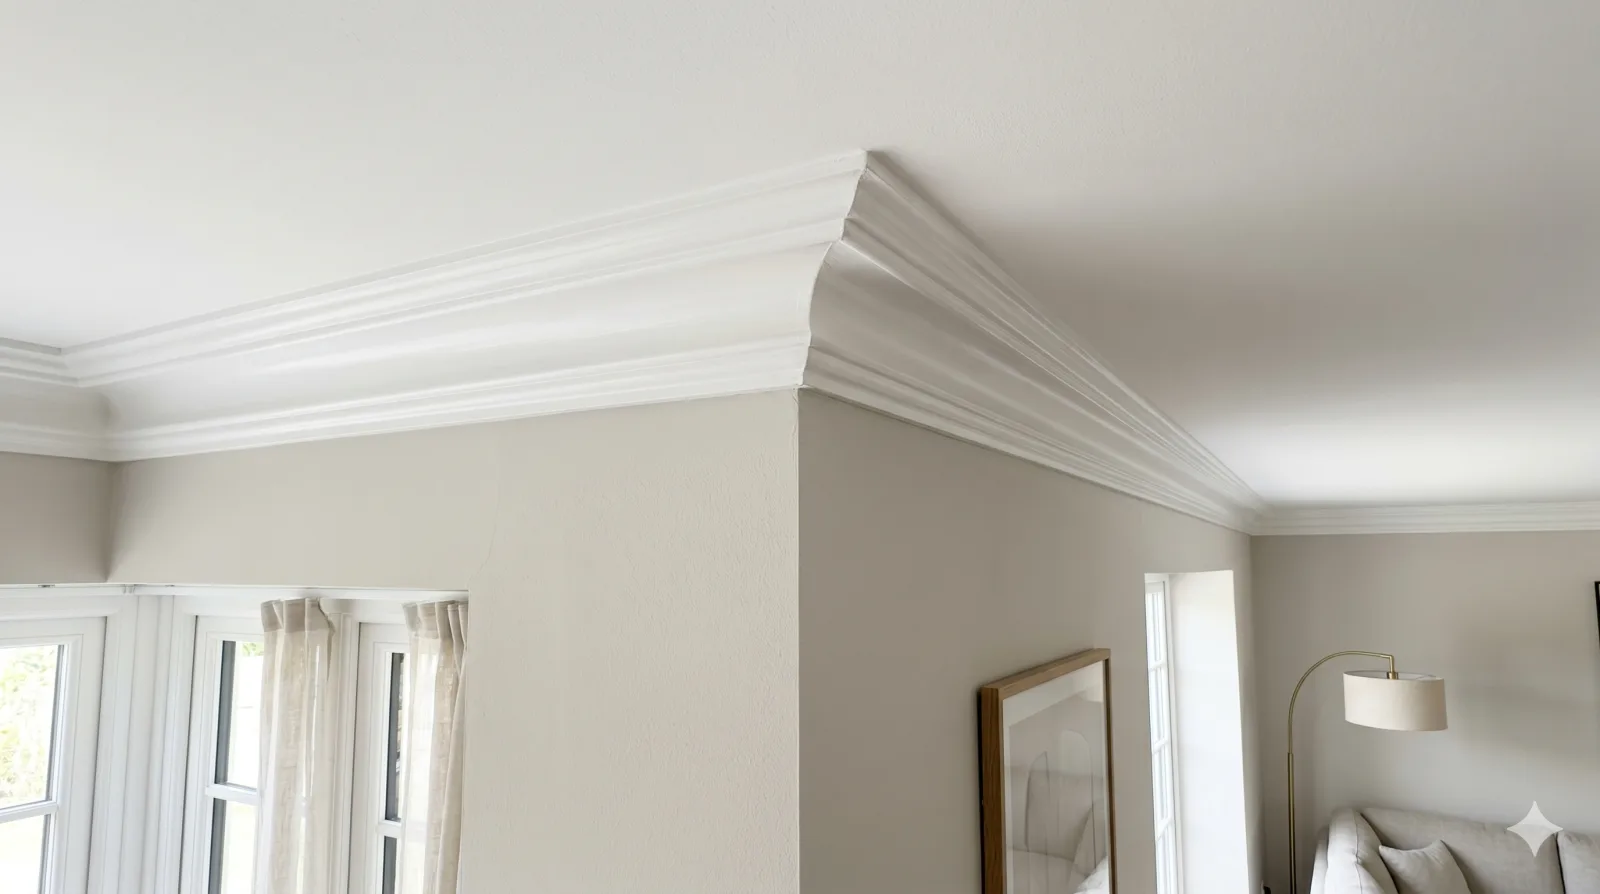
Plan interior painting in Woodstock with retained cabinets, adjoining floors and room connections shown together, so preparation and final coats follow the agreed renovation sequence.
New flooring or a kitchen update can change the edges a painter needs to finish. Identify those interfaces early, including baseboards, cabinet ends and repairs around fixtures, so the decorative scope fits the completed layout.
Dents, loose coatings and uneven repairs can remain visible beneath new paint. Cleaning, patching and suitable priming address different conditions before the decorative coats are applied.
Sheen changes how light reflects from a wall. Flatter finishes can soften the appearance of minor imperfections, while more reflective finishes create a different look on doors and trim; care requirements depend on the product.
Walls, ceilings, doors and cabinetry are separate surfaces with different preparation needs. A clear quote identifies what is being painted and which finishes remain, avoiding a refreshed wall beside unexpectedly unfinished trim.
Walls, ceilings, trim, doors and cabinets are different painting surfaces. Patching, sanding, priming and the final coating need to be identified separately in the work description.
For a Woodstock main-floor project, send photographs through doorways and across floor transitions. Include the kitchen footprint and surfaces you intend to keep, following the connected-room brief in the property guide. Mark any proposed layout changes separately and give the access needs for rooms that remain in use.
Use the full interior painting guide alongside Woodstock service guide. Include wall repairs before painting when coordinating adjoining work.
In our clients’ words
Interior finishing
"D&D repainted our whole main floor — walls, ceilings, and all the trim. The cut lines are razor sharp and there's not a drop of paint anywhere it shouldn't be. The house feels brand new."
Interior finishing
"We had them refinish our dated oak kitchen cabinets instead of replacing them. The finish is so smooth you'd swear they were new. Saved us thousands and the kitchen looks ten years younger."
Interior finishing
"Tidy, on time, and respectful of our home from start to finish. They covered everything, cleaned up every day, and helped us pick colours we never would have chosen on our own. We love the result."
Resolve preparation needs and the sequence with other trades before confirming products. Record manufacturer, range, colour and sheen for each surface, including retained boundaries.
Check the agreed finish from adjoining rooms under normal light. Record remaining items and retain care guidance for curing, cleaning and returning belongings. Confirm any later touch-up responsibility explicitly.
Provide current photos, planned materials and known coating information. Older suspect coatings require assessment before disturbance; Health Canada provides lead-paint guidance.
Identify kitchen access, furniture storage and corridors needed during the work. Agree movement, protection and ventilation with the proposed coating system and other scheduled work.
Separate walls, ceilings, trim, doors and cabinetry.
Note damage and preparation questions.
Link colours, finish and products to each surface.
Clarify furniture, protection, access and cleanup.
For Woodstock, compare the surfaces and preparation involved around the kitchen, flooring and trim, not just room names. Cabinet work and repairs after other trades can change the quote. Confirm primer, coats, protection and reinstatement rather than using an unsupported per-room price.
The timing depends on readiness after adjoining work, preparation and product requirements. Kitchen use and shared-room access may also affect the sequence. Confirm the actual stages rather than assuming a whole-home repaint always fits a fixed number of days.
Preparation should identify cleaning, filling, suitable smoothing, appropriate caulking and primer. List defects caused or exposed by planned work. Larger repairs and active moisture need their own assessment before the decorative scope is finalized.
Ask for the specific product intended for walls, ceilings, trim and cabinets, with colour and sheen recorded. Discuss preferences without assuming a named brand is standard. Product guidance determines application, ventilation and care requirements.
State primer and finish coats separately for the agreed substrate and colour change. Coverage and preparation vary with the selected system. Clarify how extra work will be authorized instead of relying on a general two-coat claim.
Agree moving and storage responsibilities, including retained appliances or furniture, and protection of new or existing floors. Record cleanup and reinstatement. The route through connected rooms needs attention alongside the immediate painting area.
Cabinets, doors and trim can be assessed as separate surfaces with their own preparation and coating systems. Include hardware and edge details. Refinishing does not automatically correct poor cabinet fit or promise a factory finish or fixed saving.
Have any workmanship coverage recorded in the accepted proposal, with exclusions and a reporting process. Clarify responsibility for damage or changes after painting by other work. Keep the terms and product records together.
It should identify the preparation and repair allowance. Small filling, broader drywall repair and unresolved water damage are different tasks; list the visible defects so the decorative scope has a clear starting point.
Do not assume they should. Cabinets have different handling and surface conditions, so discuss the existing finish and a product system intended for that use, including preparation, hardware removal and curing instructions.
View the finish in the room and consider both appearance and the selected product's cleaning guidance. More reflected light can make surface irregularities easier to see, especially beside a large window or strong side lighting.
Record the manufacturer, product, colour reference and sheen together. Similar names across ranges may not identify the same finish, and the wall colour should be distinguished from doors, ceilings and trim.
Explain room use, sensitivity to odours and access needs before scheduling. Agree protection, ventilation and a practical room sequence with the selected products' instructions, rather than assuming every room can remain available throughout.
Dry-to-touch and readiness for washing are different product instructions. Keep the coating's care guidance and confirm when routine cleaning, rehanging items and moving furniture against painted surfaces are appropriate.
List rooms that can be cleared together and rooms that must remain in use. Identify shared corridors or tenant access arrangements so protection, preparation and the painting sequence can be discussed without assuming an empty property.
View samples with the actual flooring and the room’s final lighting. Benjamin Moore explains reflected-light differences between sheens. Choose appearance and care requirements together, particularly where a connected wall includes older repairs.




For a service enquiry, use the contact link above. The date and time request only shares preferences; arrangements are confirmed separately.
Start with your property
A request is not a confirmed appointment or service agreement.
Share a preferred date and time. We will confirm arrangements with you; sending a request does not book an appointment.
Choose a preferred date and time. The team will confirm availability and the proposed arrangements.
Prefer to send the details first? Request a quote or call (519) 501-5003.